
I've always been smitten by the looks of the 17 century English carved chests. But I don't have any need for a chest like that. But those chests really look like they could be converted to a cabinet with small doors in the front instead of those panels. The lid doesn't need to be a lid anymore in a cabinet like that, it can be a fixed top with plenty of room for a sink, making it suitable for our bathroom.
I don't know if it is very visible in this picture but here are the drawings I am working from. (click on the picture to enlarge it)

The way I started ths project is a bit haphazard. First the bottom boards, now the doors. The doors are good to make now, so they are a reference for the size of the rest of the frontpanel. These are standard frame and panel doors, so I dressed the wood for the rails and styles. Here are a few pictures of the mortise and tenon construction proces.
Chopping out the mortises. I like to work like this. A clamp to prevent the wood from splitting, working above a leg of the bench and fixing the style in position with a holdfast. Diagonally so I can stand in line with the style to keep the chisel nicely vertical. I chop the mortise with one of my Dutch mortise chisels, allthough this one is made in Germany, way back in the 19th century.

Mortising isn't that much work, tenoning takes me more time. Here are a few little tricks. When I saw the shoulders, I like to undercut on purpose. This makes fitting the tenon easier. Especially when the inside shoulder is a bit gappy. A gap on the inside makes it much easier to get the visible outside shoulder really tight.
Oh, and another usefull little trick. My eyes are slowly but surely loosing their youthfull strength. I can't always see the knife lines very well anymore. It really helps to switch off the overhead lights and only work with light from the side, which throws a dark, very visible shadow line. Hard to see in the top picture, much better in the picture below, as far as my Iphone captures this.


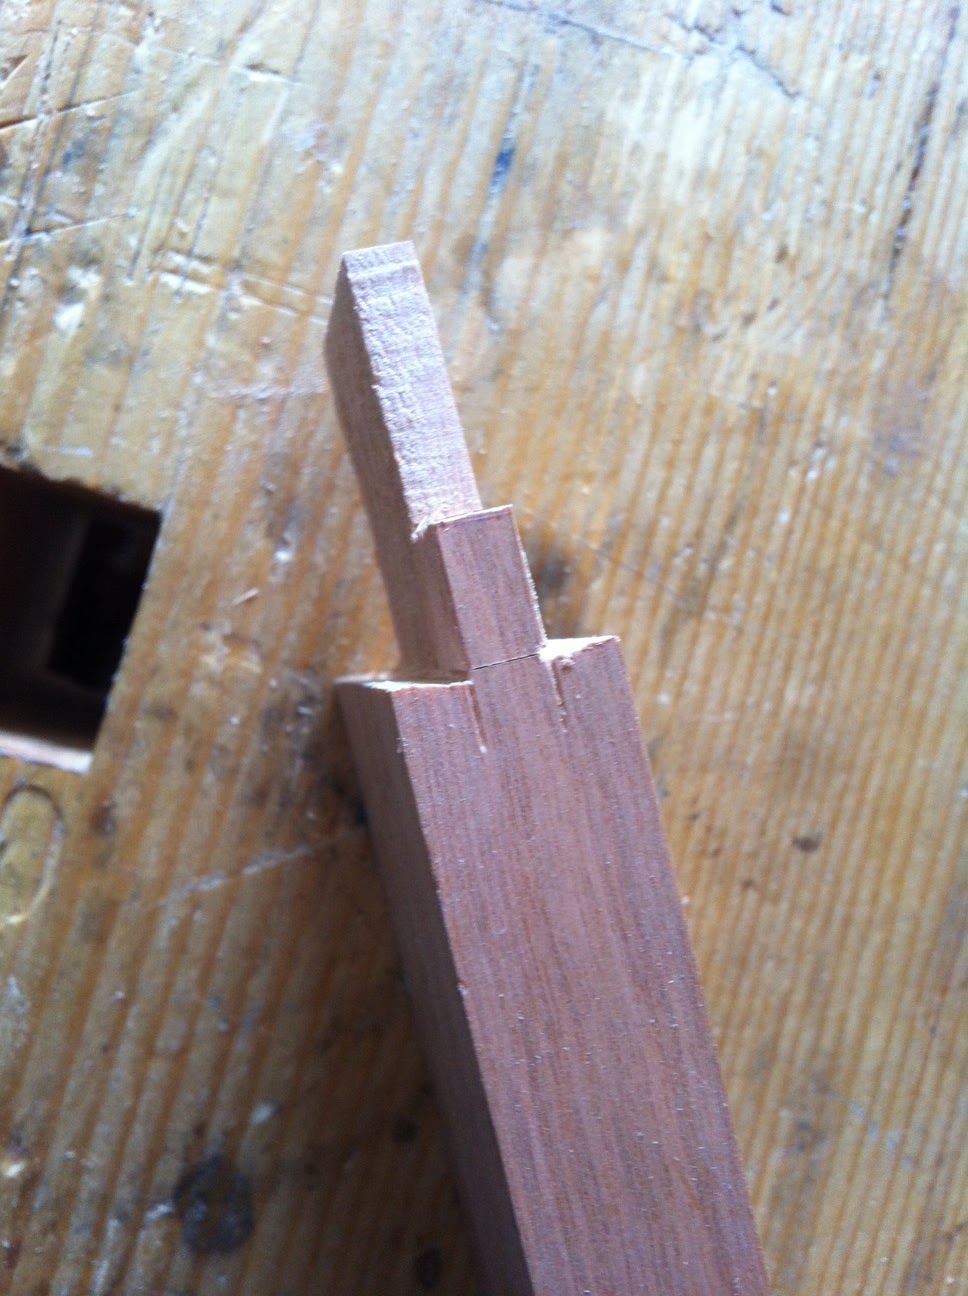
I do saw the shoulders, but I split the cheeks. The grain of this cherry wood isn't very straight, but when I take small bites, the split rarely wanders in the wrong direction. I do these cheeks in 3 or 4 splits. First split to see in which direction the split is going to wander, second or third split to remove most of the wood and the last split in the marking gauge line.

And that's 3 door frames. Mortise and tenon joints done. I still need to run some grooves and cut of the horns.
