Instagram

Monday, December 29, 2014

The crown

In an earlier blog I wrote that the carcass of the cabinet was mostly done, but there was one thing missing yet, an important one for looks, the crown moulding! Having made the moulding itself previously, I "only" needed to cut the pieces to length, adjust the miters and glue them to the case. Small job, but one of these nerve wracking operations. Bungling up the miters at this point would have set me back quite a bit.

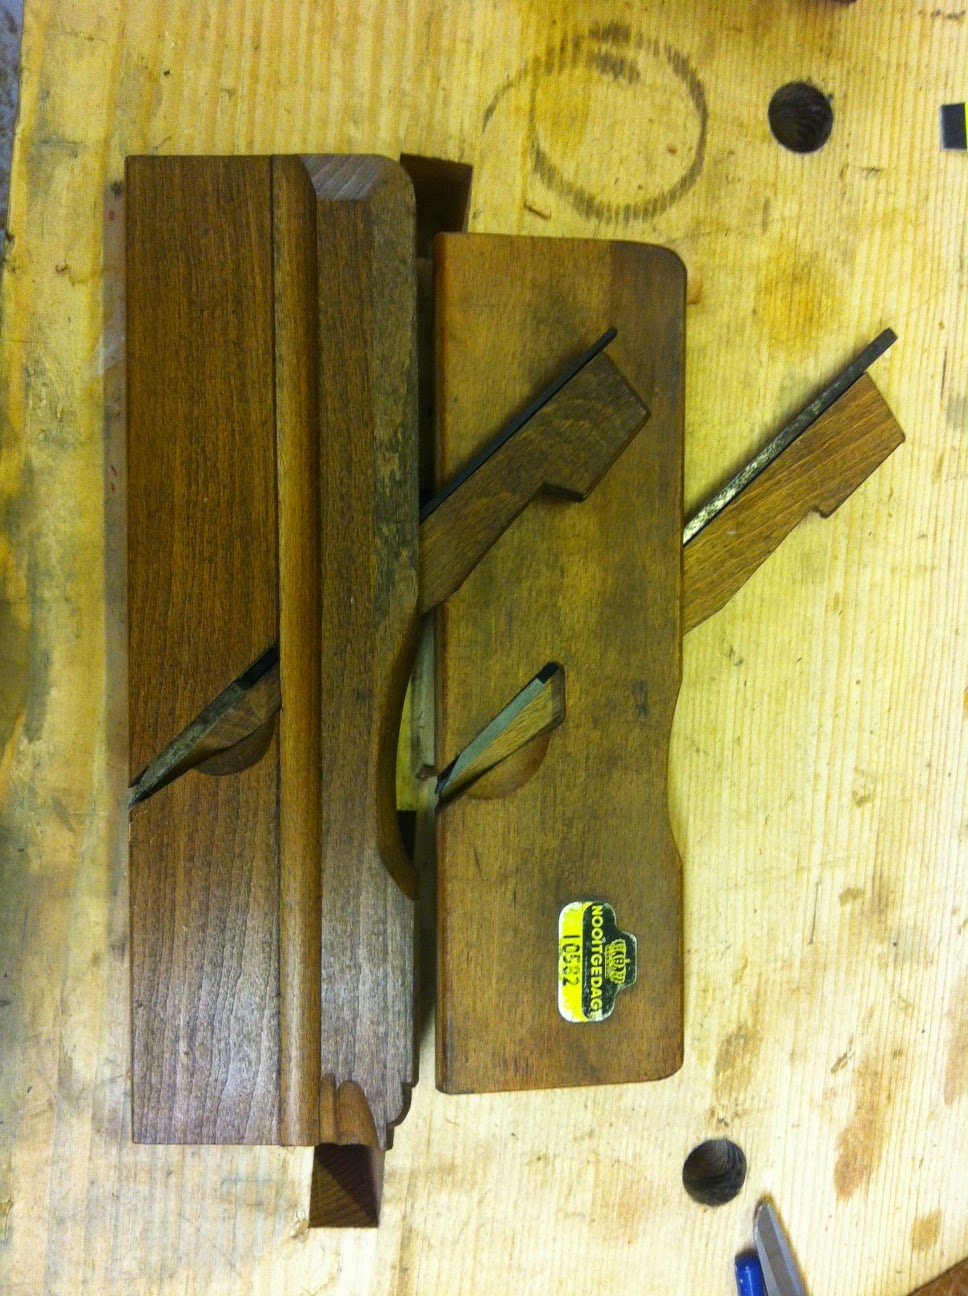
I have an Ulmia miterbox, but it doesn't cut precisely enough to fit the mouldings straight of the saw. So I indulged for a moment and got myself a real miter jack.


It was only 15 euro (well, plus a full tank of gas because I borrowed my wifes car). It's a beast. I don't know why they thought they needed 32 cm work space in this thing, must have been some enormous crown mouldings. It is made of oak and in excellent condition. After planing the faces of the two jaws it is very precise again.


This machine allows me to plane the mitered corners with great precision and in comfort. I also could have made a 45 degree shooting board, but these miter jacks just work better.

And it all worked out. After cutting the mouldings on the Ulmia at 45 degrees I could adjust them to a nice gapless fit. Here's the dry fit of one corner.


And the other one to show that I succeeded on both sides.


For the glue up I used hide glue again. the nice thing about hide glue is that it tacks very quickly. So you can just push the parts into position and press them down with your hands for a while. Then they won't slip away anymore like normal pvac glue likes to do. For good meassure I improvised some clamps. The front moulding is glued, the two side pieces are only glued for a couple cm's at the front and has some nails in the back,because of the cross grain situation.


And after waiting for several hours until the glue dried and after sanding the corners a bit to remove any uneveness, this is how it turned out. I'm a happy man :-)


Sunday, December 28, 2014

Rough dimensioning

Dimensioning the wood has been topic of this blog a lot of times. Starts to become boring. But I tried a new technique today, something gleaned from green wood working: the axe.

You've got special axes for this technique, but I tried with my recently acquired hatchet. This is in fact the first axe I've ever had. Long, long times ago, when woodworking machines didn't yet exist, the axe was one of the most important tools of the carpenter and probably also the cabinet maker. It was the fastest way to reduce wood in size. And of course using the axe every day, they became very proficient in its use. Zap forward to today and look at me. A city boy who always had the luxury of natural gas to heat his house and the lumber yard to aquire dimenshioned wood, so no need for an axe, except sometimes on hollidays in the romantic setting of a mountain cabin with a woodstove.

But I really like to explore new things in woodworking, so I got a small hatchet, a cheap one from the hardware store and sharpened its edge. Victim of my new tool is the door panel. It is too wide to fit through my thicknesser, and I don't want to rip it down in two pieces and glue it back together. I have seen this technique on youtube videos, Roy Underhill, Peter Follansbee, and all kinds of video's from log cabin builders. One big difference, they usally use green wood, while mine has been killn dried.

It's a matter of marking the sides, so I don't remove too much, then hewing into the surface at an angle, making rather deep cuts.


And then more parallel to the surface removing the splinters. This causes the axe to often slip down into the workbench, so I made sure I had a sacrifical surface.


For me this is completely new, so I'm not going to draw any conclusions, other then yes it works, and no it wasn't very fast. I'll need a load more practice. When I was about half way to my marking line I decided I needed to relax my hands and grabbed the trusty scrub plane. Always fun, and after a good workout I had dressed down the board close to the marking line. Now I let it dry some more to see if it warps, before I bring it down to the final size with a jack plane.


Sweeping the floor was the next job.

Saturday, December 27, 2014

Tongue and groove

Now the cabinet carcass is mostly finished, I've been accumulating piles of dimensioned lumber for the door, the drawers and the back. That's just boring stuff of course, but today I had a nice little job. Adding tongue and groove to the pine boards for the back. I had some old pine shelfs with an almost ideal dimension. This old pine is lovely stuff, very tight grain, and a nice butter color.

The tongue and groove was a great excuse to show off my set of match planes from Ary den Hengst, a planemaker working in Rotterdam in the 18th century. The planes are made for thin boards, 8 to 9 mm thick, so ideal for a job like this. They still work perfectly well.


Thursday, December 25, 2014

Glueing

Finally, some assembly. Time flies and my time seems to fly even faster. But I could finally heat up the glue pot again. I like to use hideglue, mostly for the alchemic fun of mixing stinking potions in bubbling cauldrons.


 This cabinet is all dovetails and hot hideglue has a very short open time. So I heated up the shop, put all the wooden parts above the stove to warm them in the rising hot air and worked pretty damned fast. Liberally brushing the glue over the joint, only doing two joints at a time, smashing them together, putting the other side in place without glue and measuring up the squareness. Then I let it dry for a couple of hours, heat up the stove again, do the same as written above etc. The same for the shelves. Overall it took all day for just a few gluejoints.

And here's a picture how it looks when you have made gappy dovetails.


I used the shavings from the fillister plane to fill in some gaps, even had to make a few veneer patches for the larger holes. Next time I really need to pay more attention when cutting them. Luckily the dovetails are mostly out of sight, as long as you won't stand on a stool to inspect the top of the cabinet. After some cosmetic surgery they don't look too bad.


Sunday, December 21, 2014

And even more mouldings

Sometimes I'm such a coward. When confronted with a new technique I can postpone the difficult bits indefinitely. Looking for odd jobs around it to avoid the real thing. So I had to give myself a kick in the back, grab the cherry boards and just get going with the job at hand.

First the front edge of the bottom board with the peculiar medieval moulding. After scribing all the lines on the board, I cut a rabbet with my trusty moving filister plane. That thing is grand! It easilly removes 1mm thick ribbons of wood per pass, so I was down to the bottom of the rabbet in no time. Cleaned up the cut with a normal rabbet plane, and relieved the sidewall a bit to make room for the side round plane. (Looks like I nicked the bottom of the rabbet a bit with the corner of the plane).


Then I cut a groove with the Record 044 plow plane. That's also a wonderfull little plane, I like it better then the Stanley #50 which didn't work in this case anyway because it doesn't reach deep enough.


That was the starting point for the side round plane. That caused a lot more struggling then on the practice piece last week. Maybe I didn't relief enough to the side? I took it in small steps, fearing that I removed too much wood, using the rabet plane to make space and the side round to cut deeper and more to the side. After the side round plane came the 1/2" hollow to round over the rest of the profile which worked as advertised. And here is the result after planing. Not really perfect, there is still a ridge inside that hollow part, but I managed to clean that up with sandpaper on a profiled wooden stick.


And this is how it looks like on the cabinet:


I think that looks a lot better then the first itteration with the modern square profile:


That being a succes I took courage and continued with the crown moulding. I won't bother you with all the steps. It's just a matter of cutting rabbets to remove the bulk of the wood and to make guiding channels for the hollow and round planes. I learned all this from the blog from Bickford for example here: musingsfrombigpink.

The moulding came out perfectly well, with just a few spots of tearout needing a bit of sandpaper.


I'll call my new set of hollow and rounds a succes, despite their less then perfect posture. I even cleared out a shelf for them.


Sunday, December 14, 2014

First mouldings

Most of the hollows and rounds are now ready for work. I skipped the two largest sizes because I don't think I will ever use them. So, work they have to do!

The easiest one is the front edge of the left side panel. The door of this cabinet is not covering both side panels, the left one is protruding. This gives an asymetric look to the cabinet, but somehow it looks pretty dandy. Anyway, I round off the front edge of this panel so it looks a bit like a vertical column. It's a 3/4" thick panel, so using the 3/4" hollow produced a nice moulded edge really quickly.


The next one is a lot more difficult. I am not happy with the bottom of this cabinet as it is now, with slightly chamfered edges. That would look nice on a modern danish piece, but not so much on this renaissance cabinet. Too blocky. So I had a look around what I could do about it. Most of these spice cabinets were designed to stand on a table. They had a bottom wich protrudes on all sides and usually they gave the edges of the bottom a rounded profile. On a hanging cabinet that doesn't look so hot. And I was too late anyway to change the bottom. A thinner bottom would also have looked better but too late for that too. In the end I found a picture of a gothic piece with exactly the right solution. Don't look (too long) at all the gothic perafernalia, just look at the front edge of the bottom.


So, that's what I am going to try. First a test on some maple. 


Getting into that corner wasn't easy. I used a plowplane first to make a groove. Then I have a "sideround", which in my case is a normal round plane where I cut half of the round away. I also grinded the iron to suit the new profile. I used a plane with a couple of worm holes. The worms have had a nice meal! The plane is almost falling apart from all the tunnels they have been digging.

Here are the planes I used. A rabet plane to remove most of the bulk. Then a plow,  A 1/2"hollow for the top rounded part and the sideround.


And another picture of the sideround.


More moulding planes

It's been a bit quiet in the shop. Last weekend I had to work extra and after 9 days working I took a timeout, Colapsed on the cough. But slowly I crawl back again and continue on refurbishing the moulding planes. I thought these ones might be interesting to see. The 3/8"s  are some of the last offerings from Nooitgedagt in this field. Funny to see how they held on to the imperical measurements until the end. Also funny to see how the book keepers managed to dumb down the design of these things. Here compared to an older model on the left.


They saved quite a bit on wood. The also saved on the typical Dutch moulding plane decorations and wide chamfers. The iron isn't tapered anymore and the mouth is wide, wide open.

But still, it's a piece of beech with an iron, so it should be possible to make it work. The round wasn't too bad. I could restore it in the usual manner. The hollow was another story. The shape of the sole didn't even look like a hollow, more like a v-groove. The points of the hollow need to be quite sharp, but they weren't in this plane. And the sole was far from flat.


After planing the sole with the round, the sole became way too wide. I had to chamfer the side to make it a nice shape again.


But then, all the work wasn't for nothing. Even these very humble decendents of the moulding plane manage to create nice shapes. Here's an ogee made with these two planes. Doesn't look too bad for a beginner with some budget planes, doesn't it?


Sunday, December 7, 2014

Moulding planes

This project has a new challenge for me. Mouldings! Never done that before. I could of course rip them out on the router table, but where's the fun in that? So I aquired a mixed bag full of hollow and round planes and after selecting the best ones, I ended up with a "half set". A half set in this case being 8 pairs of hollow and round planes from 1/8" to 1 1/4". The planes are far from exceptional. Standard Dutch carpenters planes in various degrees of disarray. So, work to do!


First thing to do is taking one pair and check them for being straight especially with a straight sole. Old wooden planes often have a depression in front of the mouth and a bulge at the back. On the round planes this is easilly corrected with a block plane, keeping a close eye on the shape, maybe even making a paper pattern to check it along the way. The hollow plane is harder to correct when the sole is out of shape, so it is best to restore the Round first and use that to correct the Hollow. Like I did in this picture.


Next step is preparing the irons. First comes polishing the face side of the irons. There is always some pitting, so I use silicone carbide grit on a floor tile first. Then it goes on my oil stones until they look good. The middle square one is from a 3/4" hollow, but one of the tips was broken, so I had to grind it back pretty far.


I "paint" the face with a permant marker and insert the iron in the plane again. With a scratch awl I mark the shape of the sole on the iron. Most of my planes need a lot of adjustment to get the profile of the iron close to the profile of the sole.


A combination of the grinder, the edge of the grinding wheel and small rotary grinding stones in the hand drill brings the edge as close to the line as possible. This asks for some inguinity and some dexterity. First I grind the edge to 90 degrees, then I grind the bevel, almost to a sharp edge.


Meanwhile I check the profile often in the plane. Inserting it, tapping it down so it protrudes minimally from the mouth and looking how well it fits. You might have to click on the image to see it enlarged to really see the edge poking out through the sole of the plane.


When I'm happy with the fit, it's time to make the edge really sharp. Here is my new sharpening station, fitted out with a Washita oilstone, an Arkansas translucent stone and some slips which are essential for sharpening hollow edges. There is also the Flex Cut strop and a normal flat leather strop with some Flex Cut stropping paste to remove the wire edge and bring the edge up to snuff.


And that's the first pair, 3/4" Hollow and Round. Only 7 more pairs to go. I know, the wedges look horrible, but they will do for a while.


And here is a short testrun on a cherry offcut.