Instagram

Monday, November 30, 2015

The scratch stock

After much hard thought about how I would decorate the rails and styles of the medicine cabinet's door, I got around to the scratch stock. As many times before it was mr. Follansbee who inspired me. He had a bunch of examples on his blog and I took one to reproduce.

A simple scratch stock is very easy to make. Just a length of wood with a fence build in on one side. A slit through the centre and some screws to clamp the blade tight in the slit.


The scratch blade is just a small part from an old saw, polished on both sides and the profile filed into the edge. I have hardened the blade (heat it to orange red and plunge it in water) but not tempered, so it remains very hard.

After some practice runs I made the profile on the rails of the door.


I ran a plow plane to make the groove in the middle and the scratch profile is scratched in on both sides.

Well, it did work, but it wasn't quite as easy as I thought it would be!
- Scratching is slow work! In fact, I never reached the top of the large round bulge and sneaked in a bit of sandpaper to finish the work.
- Scratch stocks love to chatter, light cuts are important, and even then... More sandpaper.
- The ends are very hard to do. I read in Follansbee's book that he does the scratch mouldings first and cuts the tenons later. My less then perfect ends would not have been a problem because they would have been cut off. Luckilly I still had some sandpaper around.

So, all in all, I should have choosen a much simpler profile for my first attempt.

But I did end up with two nicely deorated rails.


The styles will get another kind of treatment.

Saturday, November 28, 2015

What I did this Saterday

Another day in the Blacksmith shop. We made some tongs this time. And mine came out way better then the ones I made some  months ago. Still not quite up to the standard of our Blacksmith teacher, but still, he was impressed by our efforts. I also bought a hammer from him, specially made for me. That must be a first in my career, usually I am not much of a special tool buyer.

Wednesday, November 25, 2015

Hinges

Last year I allready bought hinges for the cabinet. I thought that they were a perfect antique design, but now I know a little more about blacksmithing, I recognise what they really are, cheaply stamped out of piece of sheetsteel with a rather bland shape.

I watched several videos about making hinges. Some examples:


Well, that didn't look too difficult (famous last words...). The most difficult part seemed to be the forge welding, especially because I allready have some failed forge welding experience behind me. But in the end, the welding proved to be the easy part! Just heat it up very very hot, and then very very quickly get it to the anvil and smash it. Oh, and using some real borax this time.

The really difficult part was shaping the hinge pin area. Small parts, loosing heat quickly and fidley manouvering with tongs. I had to dress up the result quite a bit with the file, but this is the result after a long afternoon of experimenting and actually making two halfs of two hinges. To be continued.


Sunday, November 22, 2015

Finally, finally, the carving is finished

All my readers have probably forgotten that I have a small cabinet in the works. But it is still underway. Today I finally finished the carving. And it didn't turn out too badly if I may say so.

A picture to prove that I actually do the carving myself and didn't buy a ready made panel from ebay.


As you can see I have the panel wedged between two dogs. This arrangement doesn't work too well, but I didn't want to nail it to my workbench. That was a method often used in the past and many carved panels have the nail holes in the corners to prove it.

Today I did the flower in the middle. The curves of the lobes are defined with gouges, the straight lines are made with a v-tool. Then the background is removed with shallow gouges, mostly #4's in my case. Mine have an edge with a nail profile which is very usefull for this kind of work because the corners can't damage the outlines.

Here with the background stippled with a punch. The rails and styles of the door still need a fair amount of work. I want to decorate them too and I must make a mortise for the lock.


Sunday, November 15, 2015

And the second blacksmithing lesson

Another day in Harderwijk at the blacksmithshop from Reinier Hoving. Here is my fellow trainee, Rob at one of the forge fires.


And here we are working as a team, using a hot chisel and a sledge for spliting a piece of iron. Watch those purdy pink aprons...


I feel like I made some major steps forward yesterday. Almost everything went a lot easier and more directly towards the right shape instead of faffing around, bending and rebending and overheating the iron in the mean time. Still plenty of beginners mistakes of course.

This is what I made. Some nails that still have an of center head. A hoisting hook and the big part is for a door. Not that I have a suitable door for this, but is a niece practice piece nonetheless.


Monday, November 9, 2015

Repair of the cabinet almost finished

The last week I tried to color the repair on the backleg to make it blend in as much as possible. And that quite displays my ineptitude at anything regarding finishing.


I started with oak stain, lots of it to make it darker. But it didn't want to, so I added some black stain. Then it became too yellowish, so I added some Mahogany stain. At the end I was fed up and put some oil on it, That colored the old wood way too dark. Oh wel, you can't be good at everything and this will be hiding in a dark corner, noone can see it. After drying I started to wax the entire cabinet.

This weekend I had my first blacksmith lessons. An entire Saterday banging on steel. This is the result. First lesson was making pointy ends in all kinds of variatiosn. There were leaves. S-hooks and a long window hook. A lot of fun, hard work and very much worth it.


And a picture of the shop. Next weekend again!


Tuesday, October 27, 2015

Repairing one of the back legs.

The lefthand rear leg has an old repair. A piece is spliced into the style and was fastened with a lot of nails. This is now very wobbly.


This pictures clearly shows the utility of nails in furniture restauration. They usually cause splits and more damage then they managed to repair.


I have removed this and cleaned up the crumbling remains of the wood around. As you can see, the tenon of the rail mostly dissapeared. I really hope there is still enough for a solid connection. I will put an extra block of wood behind this for extra stability.


And this is with the new leg attached, hide glue used this time and some extra bits of wood spliced in for extra stability. Everything clamped up.


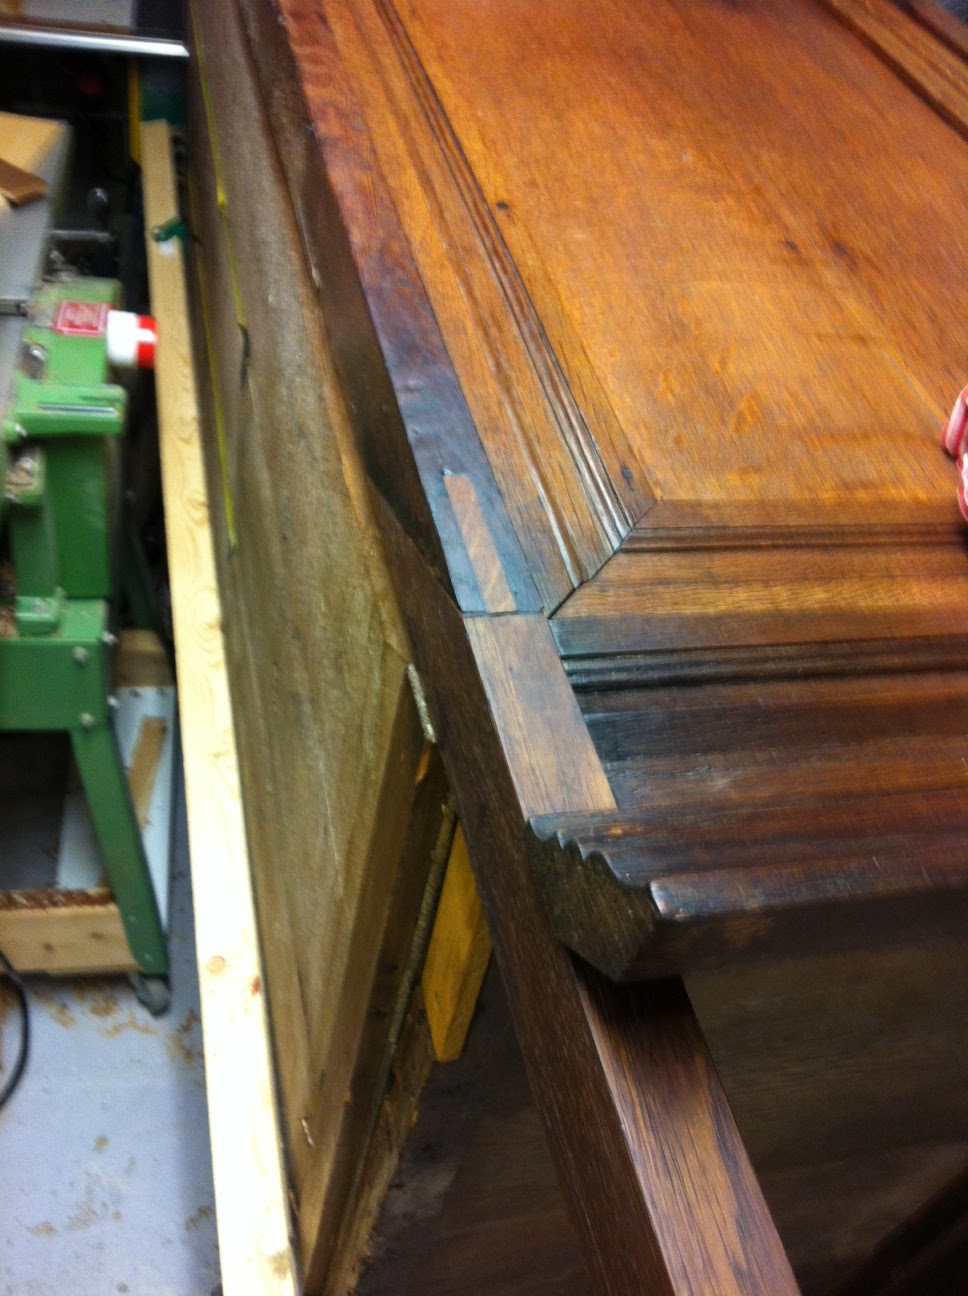
An interesting detail. The carved deccoration on the panels is not integral with the panel itself. It is a second layer, applied to the surface of the panel. The detail is, they both have their own groove in the rails and styles, so those are double grooved.


The more I see from this cabinet, the more I think it is a forgery. I think the panels are original. They are made from very nice and very wide wainscot panels. That is truelly quartersawn wood with a nice ray fleck pattern. The carvings also look genuine. But they probably used these panels to make a new cabinet somewhere late nineteenth or early twentieth century. Until now I have only found one square nail, the rest is all wire nails, which came on the market in the late 19th century. First I thought these wire nails were only in the repaired sections, but they are everywhere, So, I rest my case...